
PREPARE YOUR PAN
FULGHAM SHOWER PANS - HOT MOP SINCE 1957
Get Your Shower Area Ready for Installation
Proper preparation is an important part of creating a reliable hot mop waterproofing system. Before installation begins, the drain, framing, and shower structure must be properly prepared to ensure a strong and lasting waterproof barrier.
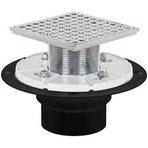
The Drain
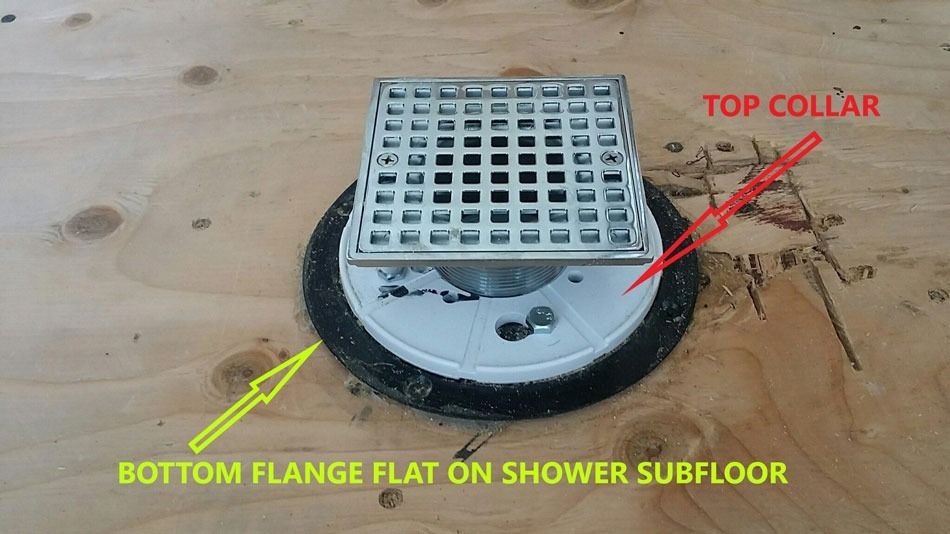
A hot mop-compatible drain requires two components:
- Bottom flange: Connects to the drainpipe and must sit flat or flush with the shower subfloor.
- Removable collar:
Bolts onto the bottom flange. The collar is removed during hot mop application and reinstalled afterward to create a watertight seal.
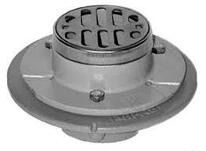
Use a New Drain
Whenever possible, installing a new drain is recommended. New drains help ensure proper fit, reliable sealing, and easier installation.
If an existing drain must be used:
- Apply a penetrating lubricant such as WD-40 to the collar bolts before removal.
- Inspect the hardware carefully, as older bolts may be rusted and can break during removal.
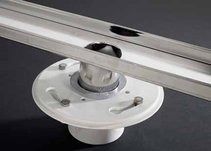
Linear Drain
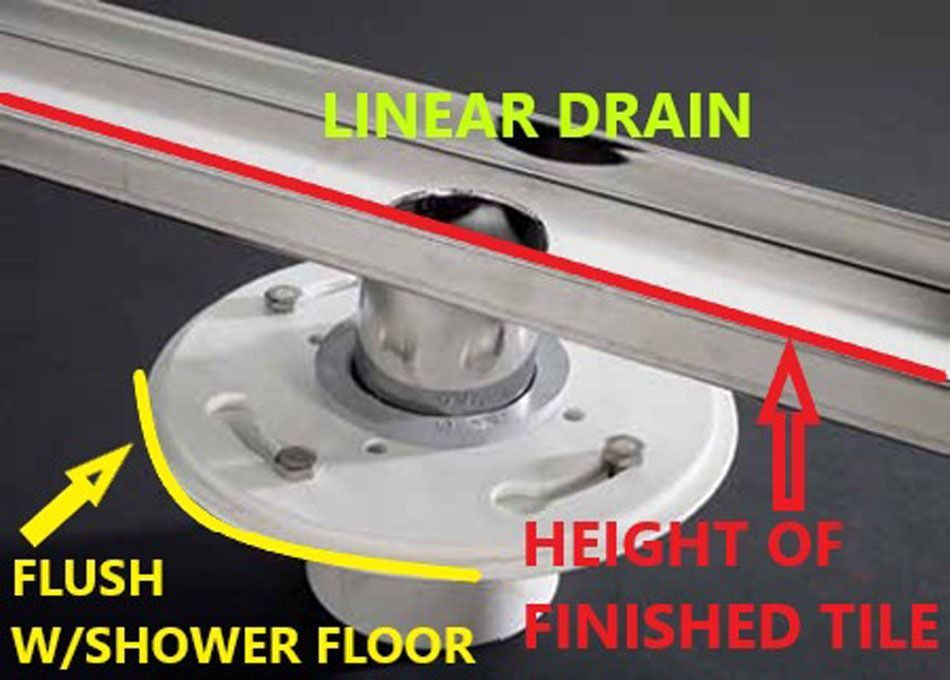
Linear drains use the same two-piece setup as standard hot mop drains, along with the additional linear drain component.
Before installation:
- Install the bottom flange and collar to the drainpipe.
- Store the linear drain portion safely to prevent damage.
- Install the linear drain component later during the tile installation process.
Shower Structure Preparation
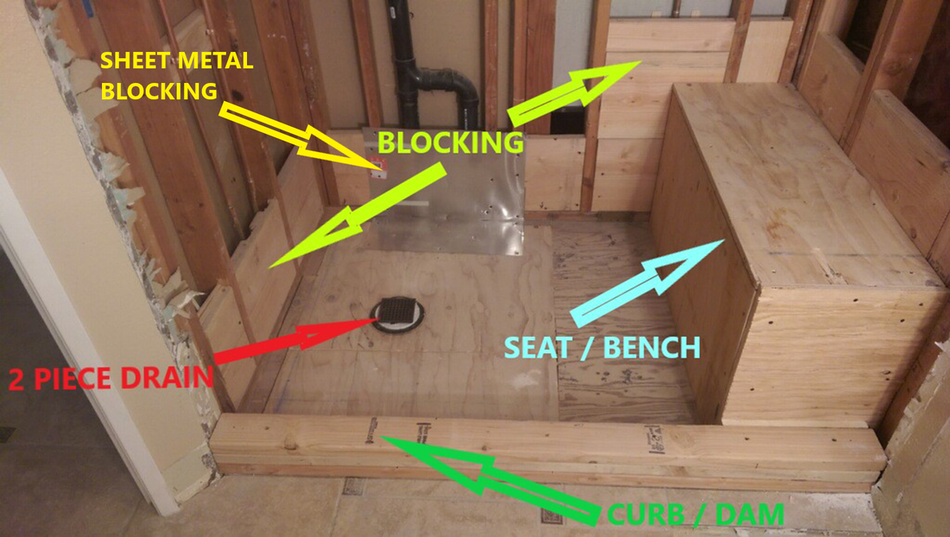
Backing and Blocking
Proper wall support helps ensure a secure shower installation. Common preparation methods include:
- Installing 2x10 blocking between studs
- Using reinforced plywood backing
- Using sheet metal support in areas where plumbing prevents wood blocking
Shower Seats and Benches
Built-in seats or benches must be structurally secure before waterproofing.
Preparation should include:
- Solid construction using plywood or similar materials
- Blocking at least 6 inches above and around the seat area
Setting the Shower Curb or Dam
The shower entrance, also called the curb or dam, helps contain water within the shower area.
Recommended preparation:
- Use at least two 2x4 boards stacked flat
- Maintain a minimum height of approximately 3.5 inches
- Follow local building codes for exact requirements
Recessed and ADA Shower Pans
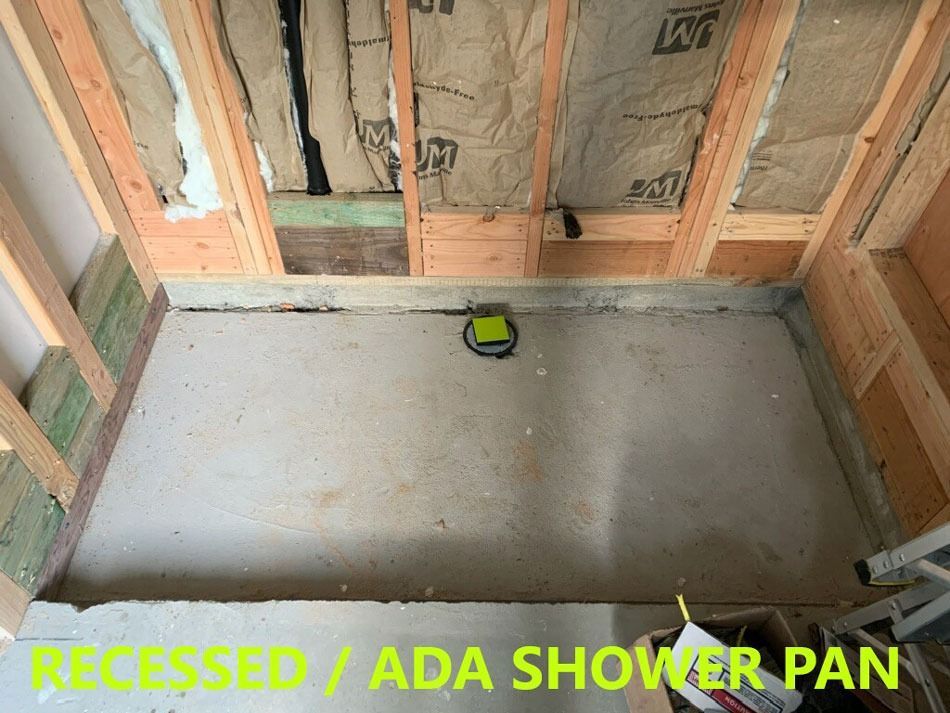
ADA-compliant and recessed shower pans require similar preparation as standard shower pans. The main difference is that the shower area must be lowered into the floor.
The recessed area should typically be prepared at least 2 inches deep before hot mop installation.
Final Preparation Checklist
Before hot mop application, make sure:
✓ Drain components are properly installed
✓ Blocking and framing are complete
✓ Seats, benches, and curbs are securely built
✓ The shower area is clean and ready for installation
Proper preparation helps ensure your hot mop waterproofing system delivers dependable protection for years to come.